Roman Shades: Low Cost Remote Control Automation
Adrian Biffen, Senior Partner
We are often asked about retrofitting Roman Shades (and cellular blinds) with our motors, and recently one of our clients kindly sent us some pictures and an explanation about how he motorized his Roman shades (many thanks Marty!).
It is actually relatively easy to do this because essentially you install a motorized tube above the unit, which is used as a 'winch' or 'winder' to pull up the cords that go down to the bottom bar.
There are different types of Roman shades, but in every case our motors can be used to "winch" up the shades; if you follow the pictures and explanation below, you'll see how Marty in Australia did it.
Once you have it operating properly, you can use all our wall mount and hand held remote controls to open and close the shades.
Interested in the Alexa voice control system? If so, check out our article series we developed about using the Node-RED visual design program (with Alexa™) for blind control (including Roman shades) and window openers ...
Here's a short video; detailed instructions are below ... if your browser doesn't display the video, here is the direct link: https://www.youtube.com/embed/UNh4i6dAh3c ...
How to Motorize Roman Shades
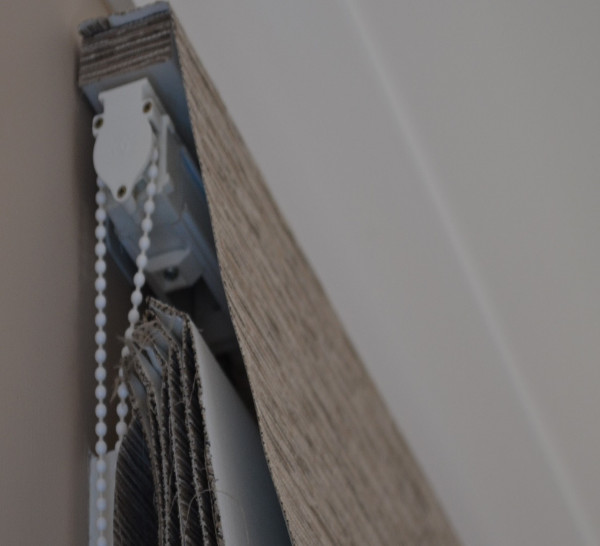
Existing Roman Blind shows chain drive and end of head rail.
Picture 1
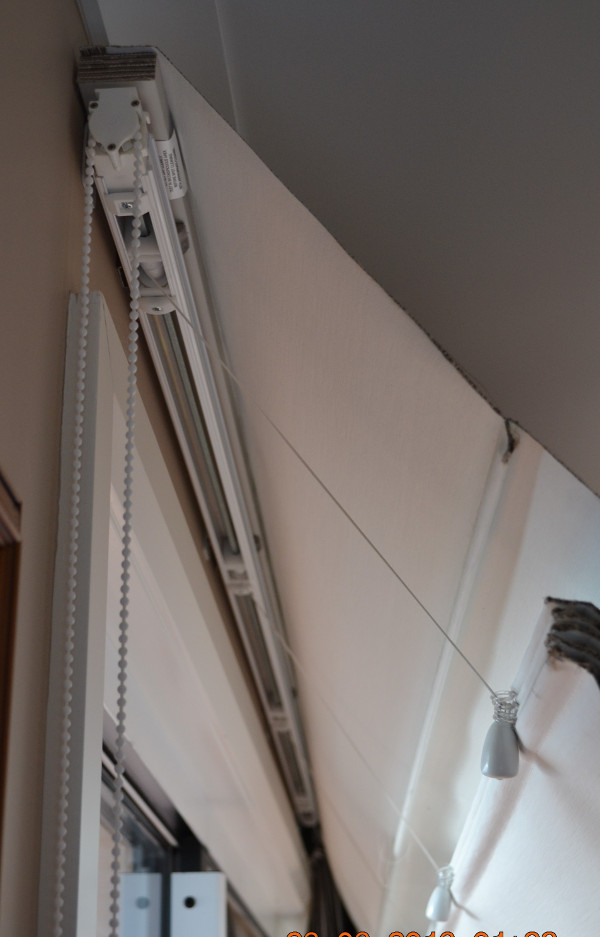
Full length Head Rail needs to be removed and discarded. Head Rail easily unclips from brackets attached to "pelmet".
Picture 2
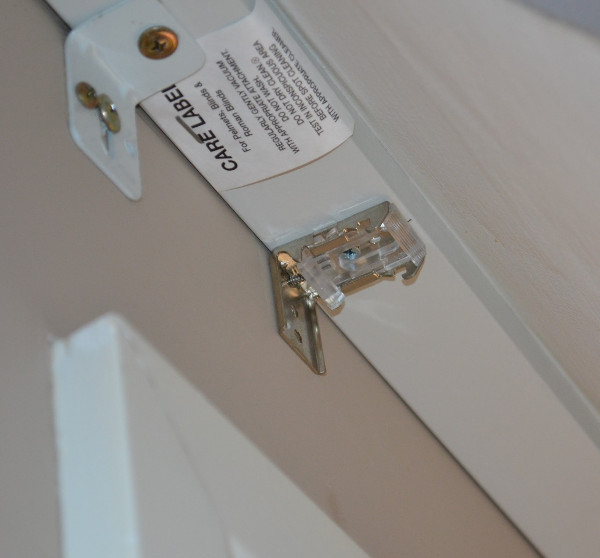
White bracket holds up pelmet. The silver bracket is one of four that held Head Rail in place.
Picture 3
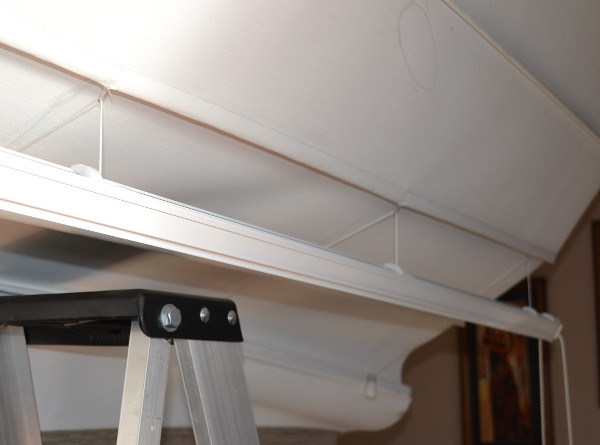
Head rail hanging free after being unclipped.
Picture 4
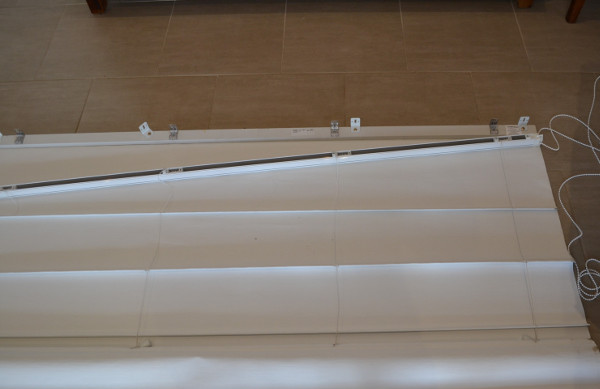
The Roman Blind lying on floor, showing disconnected Head Rail. Four existing cords had to be fully unwound from Header Rail, then cut off. Head Rail was discarded.
Picture 5
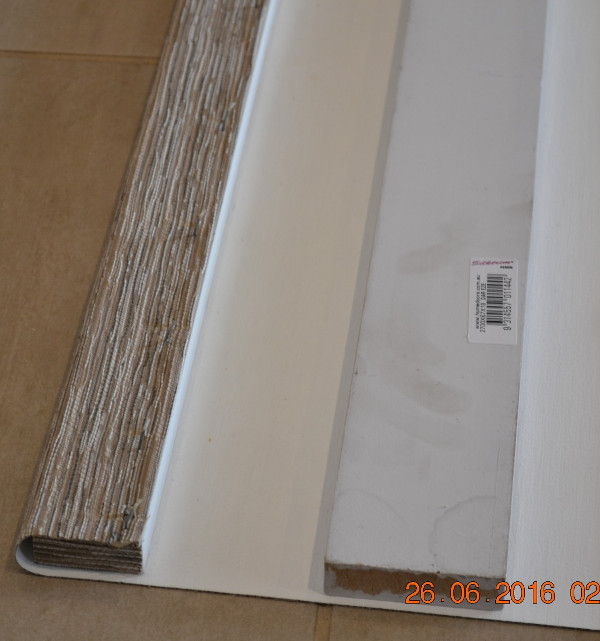
Roman Blind material was glued and stapled to top of pelmet (Left of picture). This pelmet board was not wide enough (38mm) to accommodate new brackets. Replaced with wider board (68 mm).
Picture 6
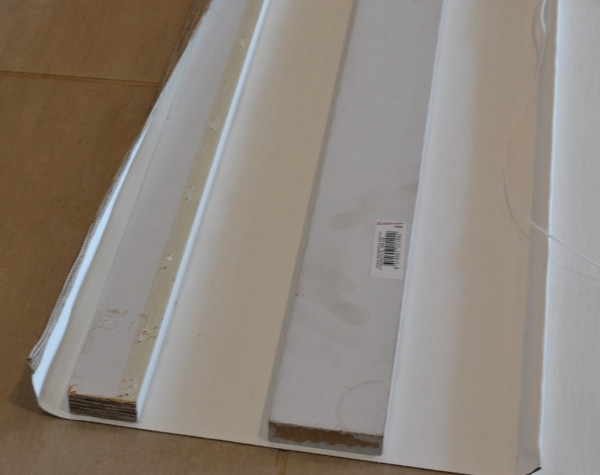
Removing original pelmet board.
Picture 7
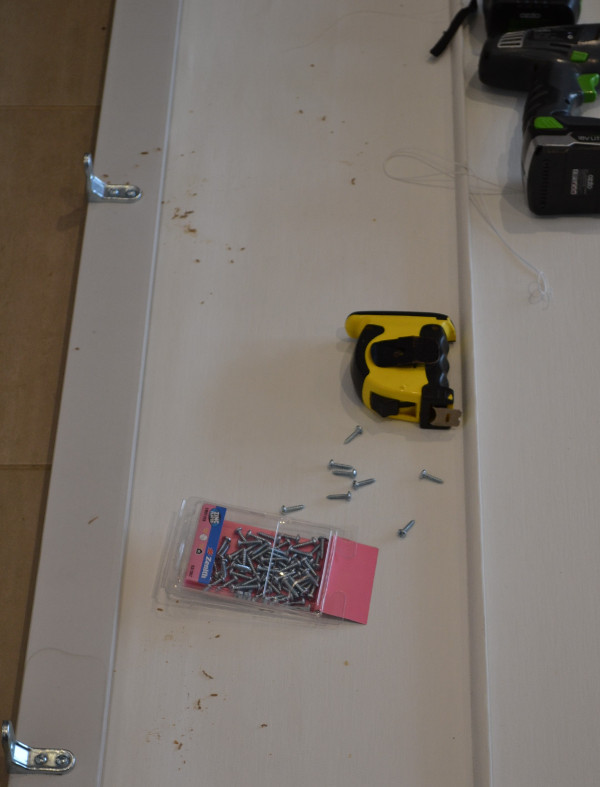
New, wider pelmet board attached. Also, used new mounting brackets to carry extra weight.
Picture 8
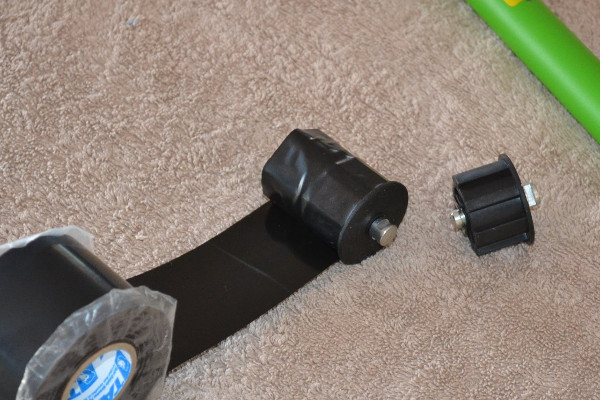
I used PVC pipe with internal diameter of 37mm. This meant I had to wrap several layers of tape around each of the roller bits (roller bits supplied by RollerTrol)
Picture 9
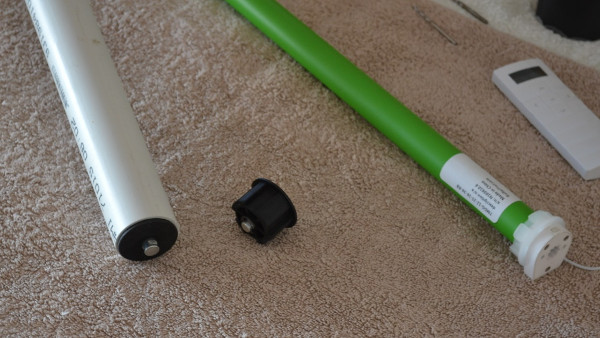
This is the non-motor end of my PVC pipe – 37mm inside diameter. Cog (idler) wrapped with enough tape to make a snug fit is already inserted. Additional cog (for my next blind) shown for comparison.
Picture 10
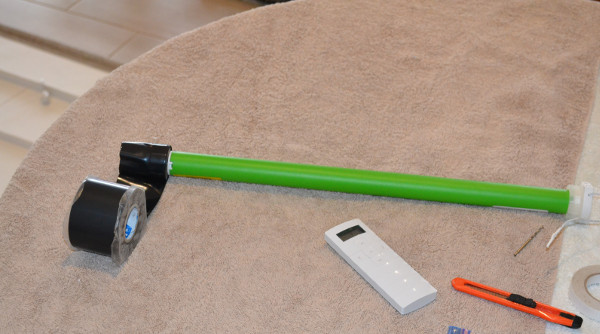
Adding tape to drive cog adapter of motor.
Picture 11
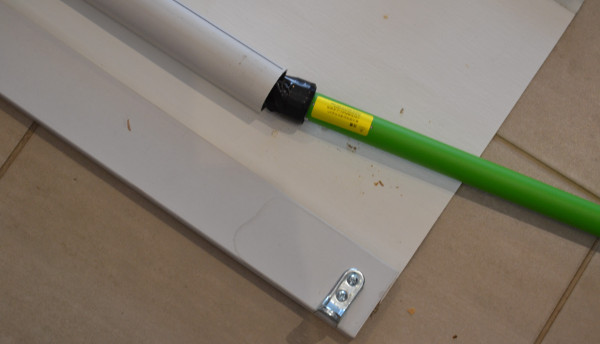
Ready to slide motor into PVC pipe.
Picture 12
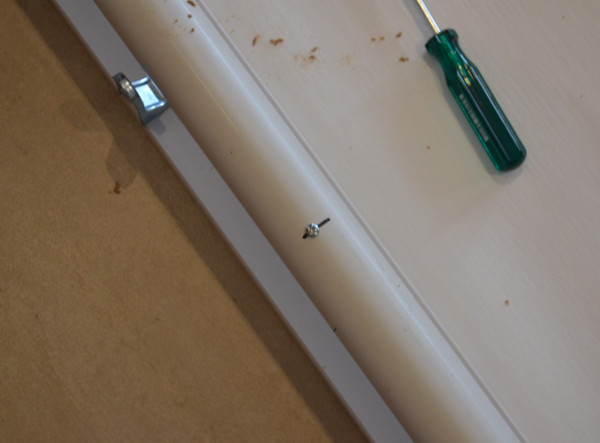
PVC pipe was marked (as suggested by RollerTrol) so that self-tapping screw could be inserted through pipe and into the drive adapter of the motor (locks it to the tube).
Picture 13
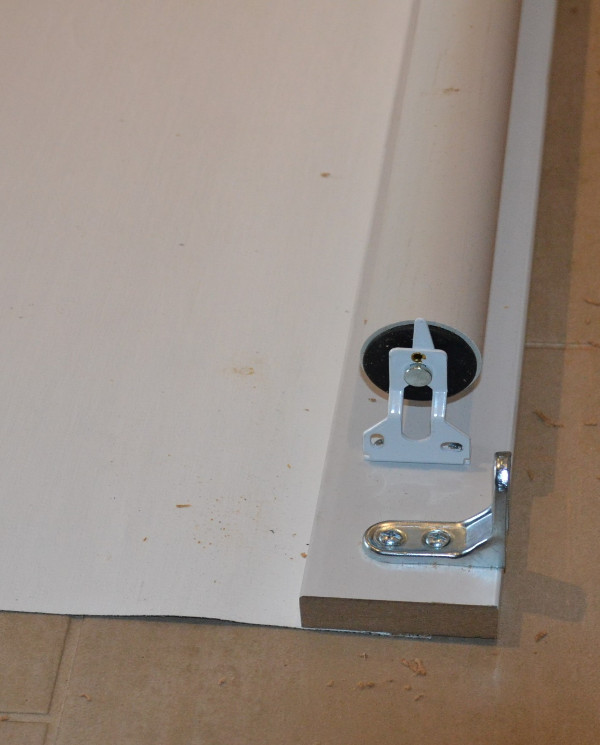
Other end of PVC pipe, again special bracket from Rollertrol makes it easy to mount the pipe.
Picture 14
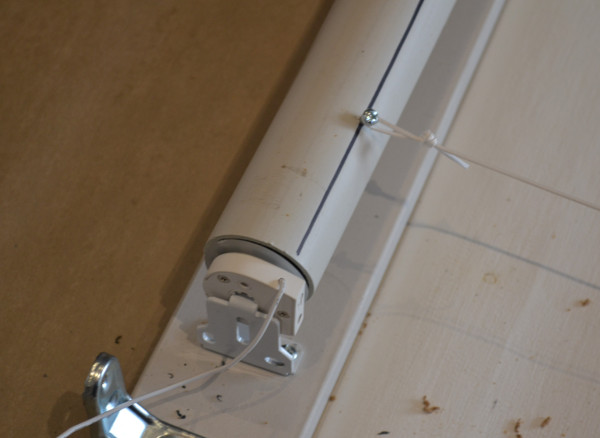
I drew a black like along the length of the PVC pipe, this to ensure that each of the 4 cords would be accurately attached.
The first cord is shown here, simply hooked onto another self-tapping screw.
Once all 4 cords were attached I added Duct Tape to make sure cords would not accidentally disconnect.
Picture 15
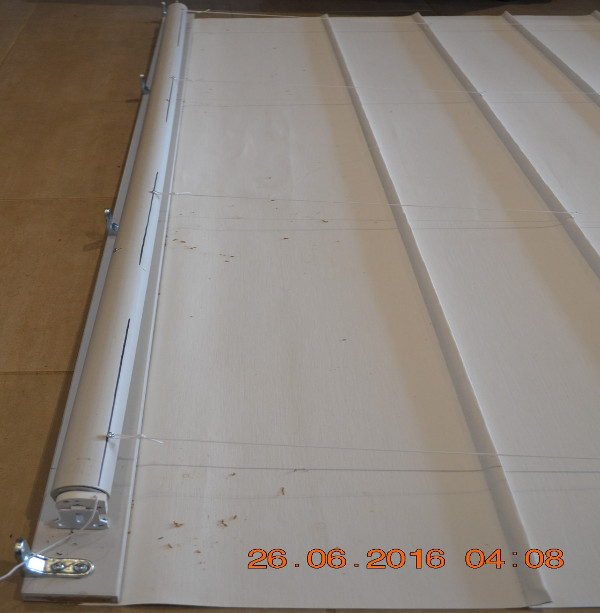
All 4 cords attached. Note, PVC pipe can be shorter than pelmet, as long as all cords can be attached. I found this convenient because mountings for pipe did not interfere with pelmet brackets.
Picture 16
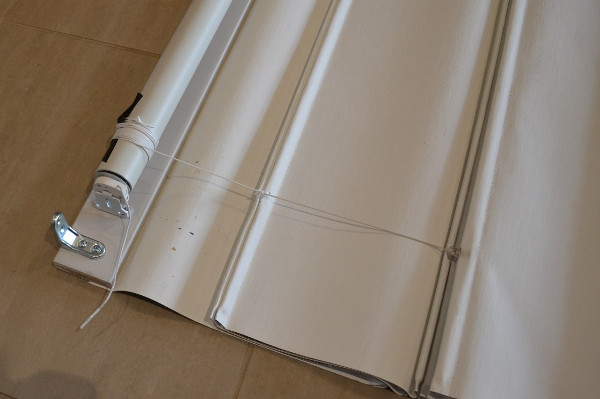
Cords wrap around the PVC pipe roller, thus raising blind. Note black tape under cord, helping to hold cord in place.
Picture 17
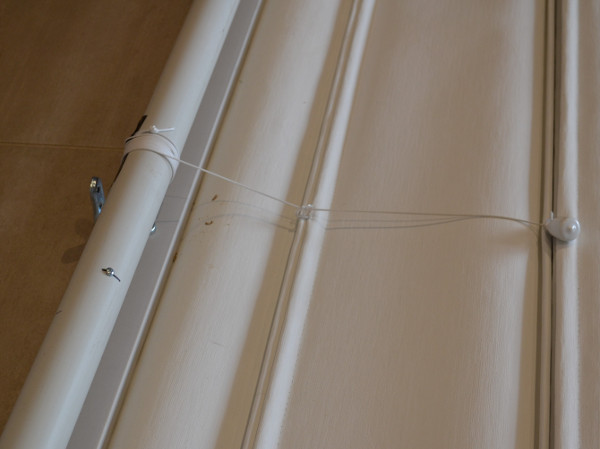
One of the centre cords rolling onto pipe. Note self-tapping screw helping to lock drive cog (inside pipe), ensuring motor drive does not spin inside the pipe - the motor drive and pipe are locked together, but the motor housing itself is stationary.
This blind is 2000 wide by 2100 long so was fairly heavy. The material is called sail cloth. Two people were needed to remount the blind onto the wall above the window. I have now installed a total of 5 units in our living area and all are now working well.
Thanks Andy and Rollertrol.
Picture 18
Buy Roman Blind Motors & Controls In Our Online Store
We have the excellent BroadLink phone apps that are very capable, and they may very well be all you need for home automation (comes with phone app). This will give you direct control over our blind motors, window openers, smart plugs, security kits, environmental sensors, and many other devices.
If you are interested, you can purchase motors for Roman blinds and our control products in our DIY online automation store.

 Shopping Cart Home - Start Here
 Remote Controls for Radio Equipped Motors
 DIY Starter Kits for Window Shades
 DIY Starter Kits for Window Openers
 ZWAVE Blind & Shade Controllers
 How To Choose the Right Blind & Shade Motor
 Select tubular Motor (Comparison table)
 Choose RollerTrol Battery & Solar Motors
 DIY Roller Blind Motors - FAQ
 How To Insert Blind Motors & Attach Brackets
 Calculate your Blind or Shade fabric Weight
 Select Tube Size for Blind Motor
 How to Insert Blind Motors Into Tube
 How to Insert Blind Motors Into Tube with Adapters
 Attach Mounting Brackets - Standard + Mini Series
 Attach Mounting Brackets - MAXI Blind Series
 How To Set Up Radio Equipped Blind & Shade Motors
 Series P Radio Remote Control Motors
 Series G Radio Remote Control Motors
 Series R Radio Remote Control Motors
 BroadLink RF/IR Hub System for Motors
 How To Set Up Window/Skylight Openers
 Introduction: Window & Skylight (K Series)
 BroadLink RF/IR Hub System for Motors
 Z-Wave Interfacing for Shade & Opener Motors
 Wired Wall Switch Control of Window Openers
 How To Use Alexa With Our Motors & Window Openers
 How To Use BroadLink Phone App Hub With Our Motors
 How To Set Up ShadeSlider Skylight or Bottom-Up Blind
 How To Retrofit RV, Boat and Motorhome Blinds
 How To Set Up Non-Radio Motors
 Operation & Travel Limits of Non-Radio Motors
 Make a Simple DC Motor Reversing Switch
 How To Set Up ZWAVE Control
 ZWAVE Controller for G Series Radio motors
 ZWAVE Door/Window Opening Detection
 ZWAVE Motion Detector with Temperature Sensing
 Motorized Window Blinds & Shades
 Motorized Dual Window Shade
 Make Motorized Blackout Blinds
 Phone-Tablet-PC Control for Motorized Blinds
 Mini Motor for Existing Shade Retrofit
 Roman Shade Retrofit
 Make a Motorized Window Opener
 Blind & Shade Motors for RV & Boats
 Make Your Own Projector Screen
 Curtain Closer: Ultimate Home Theater
 Wireless Battery Operated Drapery Motor Kit
 Make a Motorized Bottom-Up Shade
 Make a Motorized Skylight Opener
 BroadLink RF/IR Hub System for Motors
 Why Buy From US?
 Background & Mission Statement
 Customer DIY Testimonials
 Site Map - Search All Pages
 Why Buy From US?
 RollerTrol Users Forum
 Contact Page